-
 +86 13616113658
-
 [email protected]
 English
 Español
 русский
 عربى
عربىHome / Media / Industry News / How to Properly Clean the Glass and Frame of Single-Pane Cleanroom Windows
How to Properly Clean the Glass and Frame of Single-Pane Cleanroom Windows
Content
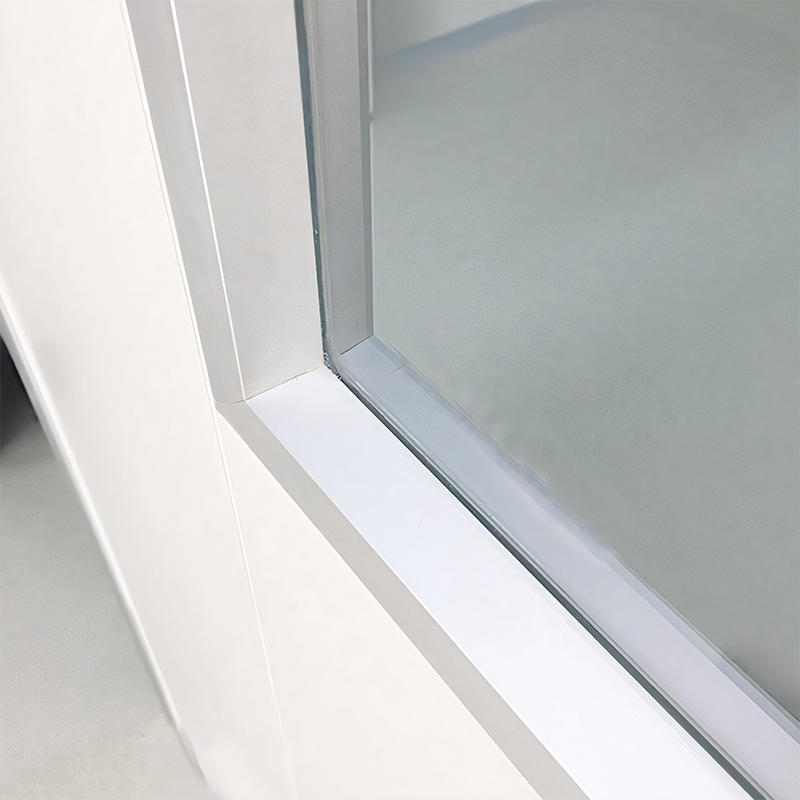
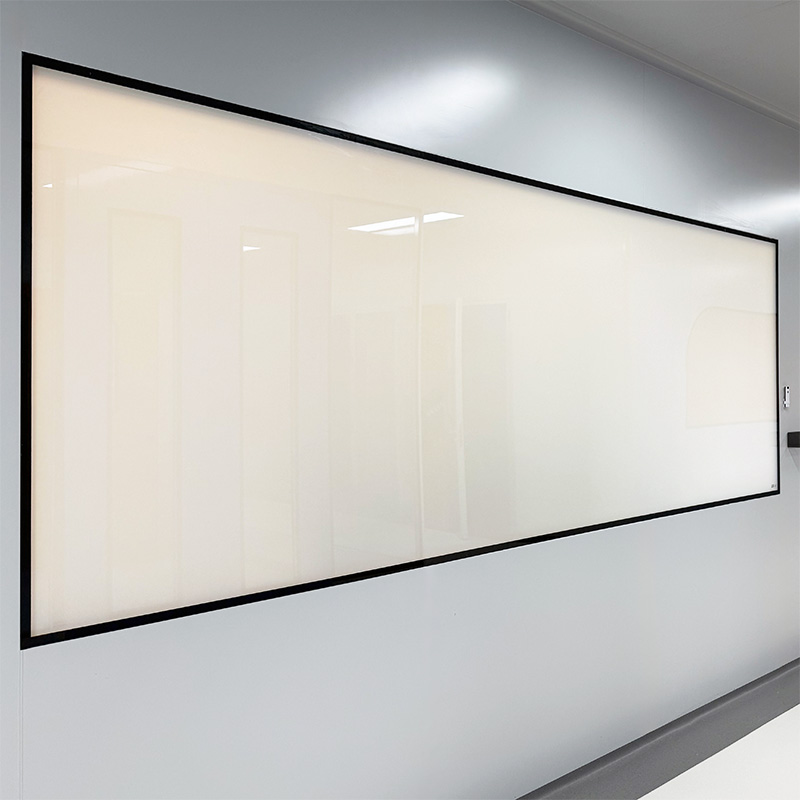
Maintaining a cleanroom environment demands meticulous attention to detail, with every surface playing a crucial role in contamination control. Among these, windows are particularly challenging—they must provide visual access while maintaining the integrity of the controlled environment. Single pane cleanroom windows, common in many ISO Class 5 to Class 8 cleanrooms, require a specialized cleaning approach that differs significantly from standard window cleaning.
Understanding the Stakes: Why Specialized Cleaning is Non-Negotiable
Before detailing the procedure, it’s essential to understand what’s at risk. Improper cleaning can:
- Introduce contaminants: The wrong materials or techniques can shed fibers, particles, or microbial loads directly into the cleanroom.
- Damage the seal: Harsh chemicals or abrasive actions can compromise the window seal, leading to costly repairs and potential room breaches.
- Create static charge: Incorrect wiping can generate electrostatic discharge (ESD), attracting and holding particulate matter to the surface.
- Leave residues: Non-cleanroom-approved solutions can leave films that attract particles and hinder visibility.
The goal is not just a streak-free shine, but a surface that contributes to, rather than detracts from, the room’s contamination control protocol.
Pre-Cleaning Preparation: The Foundation of Success
1. Consult Governing Documents:
Always begin by reviewing the cleanroom’s Standard Operating Procedures (SOPs), material compatibility charts, and any manufacturer guidelines for the window and frame materials. Cleaning protocols may be specified by industry (pharmaceutical, semiconductor, medical device) and ISO class requirements.
2. Gather and Prepare Approved Materials:
- Cleaning Agents: Use only cleanroom-grade, non-ionic surfactants or specially formulated cleanroom concentrates diluted with purified water (DI, RO, or appropriate grade water as per SOP). Isopropyl alcohol (IPA), typically 70% solution, is common for final disinfecting/de-greasing but verify compatibility with seals and frames.
- Wipers: Use low-lint, cleanroom-certified wipers (e.g., polyester knit, microfiber). Different weights may be needed—a heavier knit for the initial application and a lighter, softer knit for final polishing. Never use shop towels, paper towels, or non-specified cloths.
- Mops and Handles: For larger windows, cleanroom-approved wet mops with non-shedding heads on telescopic handles allow work from the floor without ladders.
- Containers: Use dedicated, clean cleaning buckets or spray bottles, themselves cleaned and rinsed with purified water.
3. Personal Preparation:
Don full cleanroom gowning (frock, bouffant, gloves, boots, etc.) as required for the room’s classification. Perform proper hygiene and air shower procedures before entry.
Step-by-Step Cleaning Procedure
Phase 1: Dry Pre-Cleaning (If Applicable)
For windows with visible loose particulate, use a cleanroom-certified vacuum with a HEPA filter and a soft brush attachment. Gently and systematically vacuum the frame and the perimeter of the glass to remove gross contamination. This prevents smearing particles during the wet wash.
Phase 2: Cleaning the Frame
Always clean the frame before the glass. Contaminants dislodged from the frame will fall onto the glass.
- Prepare Solution: Mix the approved cleaning solution in your bucket or bottle as per dilution instructions.
- Application: Lightly dampen (do not soak) a clean wiper or mop head with the solution.
- Technique: Wipe the frame in one direction, using overlapping strokes. Start from the top and work downward. For recessed frames, use smaller wipers or swabs to reach crevices. Apply minimal pressure to avoid forcing moisture into seals.
- Rinsing (Critical Step): Using a separate bucket of purified rinse water, dampen a fresh, clean wiper. Wipe the frame again to remove any detergent residue. Residue attracts particles.
- Drying: Use a third, dry wiper to blot and dry the frame completely. Ensure no moisture pools in corners.
Phase 3: Cleaning the Glass Pane
- Initial Wash: Dampen a fresh, clean wiper with the cleaning solution. Using straight, parallel, overlapping strokes, clean the glass from top to bottom. Turn the wiper to a clean fold after each pass. For large panes, the “S-Curve” method (overlapping reversed “S” shapes) is effective in ensuring full coverage.
- Rinsing: Immediately after washing a section, use a wiper dampened with purified water to rinse the same area, following the same stroke pattern. This prevents the solution from drying on the glass.
- Drying/Polishing: This is the key to a streak-free finish. Use a perfectly dry, high-quality cleanroom wiper. For single-pane windows, you can polish using a standard “dry buffing” motion. However, for the absolute best result on glass, many protocols recommend the “Two-Wiper Technique”:
- Hold a dry, opened wiper flat against the glass in your secondary (e.g., left) hand.
- With your primary (e.g., right) hand, use a second dry wiper to make firm, straight, vertical passes down the glass, polishing the surface.
- The wiper in your secondary hand follows behind, catching any moisture or lint shed by the leading polishing wiper before it can re-deposit on the clean glass.
- Final Inspection: Use oblique lighting (a light shone at a shallow angle across the surface) to inspect for streaks, residue, or remaining particles. Address any issues with a focused dry polish.
Phase 4: Disinfection (If Required by Protocol)
If microbial control is specified, after the final rinse step, apply the approved disinfectant (e.g., 70% IPA) using a clean wiper. Ensure the prescribed contact time is met. Note: IPA can degrade some seals and plastics over time, so compatibility and SOPs are crucial.
Critical Considerations and Common Pitfalls
- Pressure on the Pane: Single-pane windows are not structural. Apply gentle, even pressure. Excessive force can stress the seal or, in extreme cases, break the glass.
- Seal Integrity: Never cut, pick at, or aggressively scrub the seal/gasket between the pane and frame. Moisture ingress here can be catastrophic. If seals appear damaged, report it—do not try to clean the problem away.
- Chemical Compatibility: Never use ammonia-based, abrasive, or fragrant commercial glass cleaners. They will leave residues and can damage frames.
- Wiper Economics: Change wipers frequently. Using a saturated or dirty wiper simply redeposits contamination. It’s more cost-effective to use several wipers than to compromise the environment.
- Frequency: Establish and adhere to a cleaning frequency based on room usage, classification, and monitoring data (particle counts, surface viable monitoring).
Post-Cleaning Protocol
- Remove Waste: Place all used wipers into cleanroom waste bags for proper disposal. Do not leave used wipers in the room.
- Clean Equipment: Rinse buckets, mop heads, and handles with purified water and allow to dry in a controlled ante-room or cleaning closet.
- Document: Record the cleaning in the cleanroom log. Note any observations, such as seal damage or persistent stains.
Conclusion
Properly cleaning a single-pane cleanroom window is a disciplined exercise in contamination control, not a casual chore. It requires the right materials, a systematic and validated technique, and an understanding that the integrity of the cleanroom envelope is paramount. By following the steps outlined—emphasizing the separation of cleaning and rinsing steps, meticulous attention to the frame first, and employing careful drying techniques—you ensure that these vital viewing portals maintain both their clarity and their role as a secure barrier. Consistency in this practice protects your product, your process, and the significant investment that the cleanroom represents. Remember, in a cleanroom, even the act of looking in must be done through a perfectly cleaned surface.
Previous Post
How do you control the opening and closing speed of an Airtight Automatic Sliding Door?
Next Post
Does the Arc Cleanroom Window Reduce Noise from Outside the Cleanroom?
Jiangyin Yatai Purification Equipment Technology Co., Ltd. is a modern and specialized manufacturer of clean doors and windows. Cleanroom Project Factory, offer Custom Clean Doors and Windows.
QUICK LINKS
PRODUCTS
GET IN TOUCHs
-
 +86 13616113658
-
 +86(0)510-86661588 / 86668687
-
 [email protected]
-
 +86(0)510-86661588
-
 No.2, Huagang West Road, Shizhuang, Jiangyin, Jiangsu province
© Jiangyin Yatai Purification Equipment Technology Co., Ltd.
All Rights Reserved.
 Cleanroom Door Manufacturers